Mine Antarctica Bombs & Radars
Spend consumables when warmth, bag space, and hourly resets actually line up.
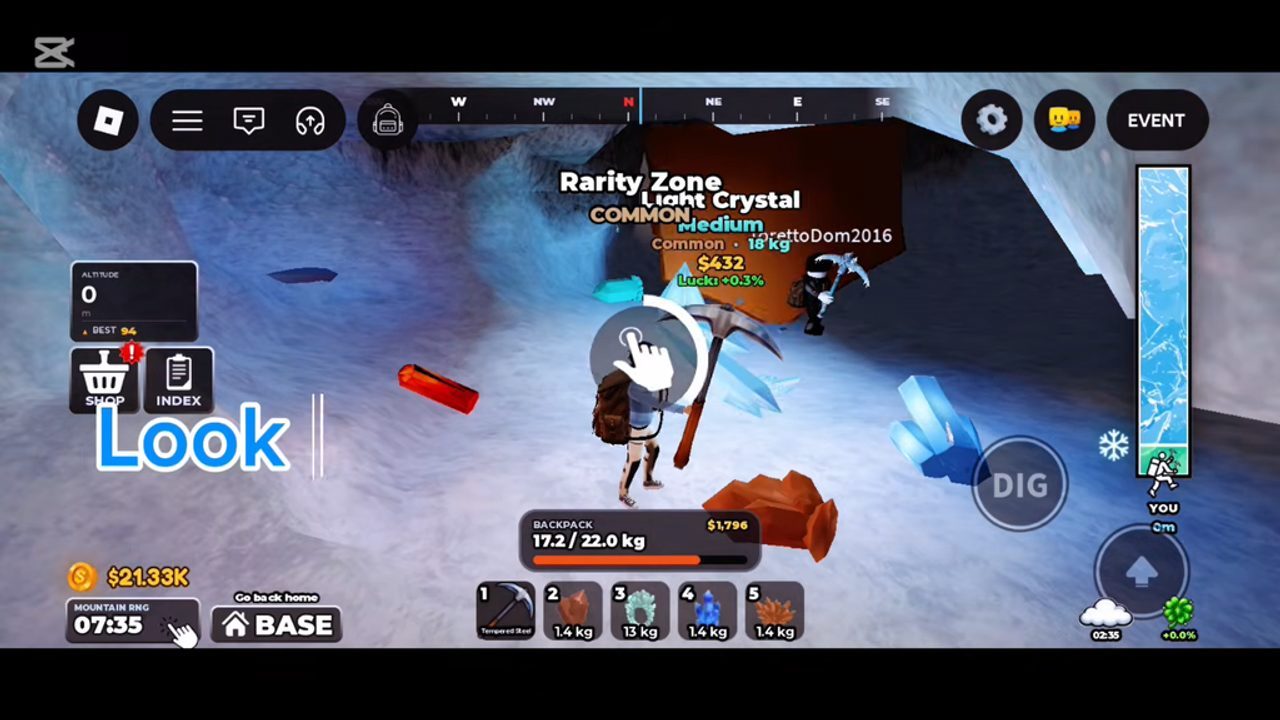
Tools that shorten the search
Pickaxes break rock. Climb Higher keeps you alive. The garden raises Luck. Bombs and radars answer a different question: how fast can you find and open the valuables on this hour’s mountain? Used well, they turn a wandering hike into a planned crystal route. Used poorly, they burn inventory while you are still freezing at 250m with a tiny bag.
This guide sits beside Getting Started, Climb Higher, and Garden & Luck. It assumes you already know the Gem Buyer loop and will not dump bombs into a foothill you could clear with the Rusted Scrapper.
What radars are for
Radars help you locate crystal opportunities through the ice and rock noise. On a fresh Mountain RNG layout — the zone that reshuffles about every hour — information is scarce. A radar early in the hour tells you whether to commit upward, sweep laterally, or reset expectations and farm a dense mid band instead.
Good radar moments:
- First push after the hourly refresh.
- After a big pickaxe upgrade when Mine Size can actually clear what you mark.
- When garden Luck is strong and missing a rare node would feel especially bad.
Bad radar moments:
- While cold damage is already ticking and you have no Climb Higher Cash reserved.
- When your bag is one crystal from full.
- Back-to-back radars without moving — relocate between pings.
What bombs are for
Bombs are tempo and clearance. They shine when you have already found a cluster (naturally or via radar) and need to open space or finish a pocket before cold or carry caps end the run. Think of bombs as spending Cash-equivalent value to save minutes that would otherwise be LMB grinding.
Good bomb moments:
- High band confirmed safe for your warmth.
- Carry More level high enough to loot the aftermath.
- Pickaxe Power high enough that follow-up swings finish what the blast softens.
Bad bomb moments:
- Panic-bombing while fleeing cold.
- Bombing low-value foothill rock “for fun.”
- Using your last bombs right before an hourly reset if you cannot loot in time.
Sync with the hourly mountain
PolarMine advertises a new Antarctic mining zone every hour. That timer should drive consumable discipline:
- :50–:00 — sell, plant Luck crystals, restock bombs/radars, buy warmth if needed.
- :00–:10 — climb to your safe max, radar once, commit to a route.
- :10–:40 — mine, bomb priority clusters, TP sell as bags fill.
- :40–:50 — final haul, avoid starting a bomb chain you cannot finish.
If you log in mid-hour, still radar once if the layout is unfamiliar, but do not empty your stock if the reset is imminent.
Loadout checklist before spending
| Check | Ready? |
|---|---|
| Climb Higher covers the target altitude | Required |
| Carry More can hold a bomb’s worth of loot | Required |
| Pickaxe Power/Mine Size matches the band | Strongly recommended |
| Garden Luck / group +1 Luck claimed | Recommended |
| Minutes left on mountain timer | Know it before you commit |
Skip this table and you will invent stories about “bombs being useless” when the real issue was dying warm-less on a radar ping.
Routing tips that pair with tools
- Climb with purpose: height still equals rarity even when a radar lights up a side path.
- Mine en route so travel time pays.
- After a bomb, sweep edges — blasts can expose crystals your first glance misses.
- Teleport early if cold spikes; a partial bomb payout beats a death.
- On multiplayer servers, avoid bombing a node someone else already claimed if you care about drama — the mountain is big enough.
Economy: when to buy more tools vs upgrades
Consumables are not a substitute for progression stats. Priority remains:
- Climb Higher when cold wins.
- Carry More when bags win.
- Pickaxe when dig time wins.
- Bombs/radars when information and clearance win.
If buying another bomb pack delays a warmth level that would unlock an entire band, buy warmth. If you are already warm with Genesis-adjacent Power and idle Cash, stock tools for each reset.
Paid helpers like INSTANT Mine Crystal or dig-speed gamepasses reduce how often you need bombs for raw clearance, but radars stay relevant whenever layouts change. Codes will not refill your belt today — the Codes Hub still shows none active for October 2026.
Anti-patterns and bans
ESP scripts try to replace radars. Auto-mine scripts try to replace bombs and pickaxe skill. PolarMine’s rules are blunt: unauthorized software means a permanent ban. Read the Scripts Hub if you need the loadstring documentation and the warning in one place. Legitimate radars exist so you do not have to cheat the fog of war.
Practice drill
- Wait for a mountain refresh.
- Confirm warmth on a short scouting climb without tools.
- Radar once; mark a primary and secondary target.
- Bomb only the primary if Carry More and cold allow.
- Sell, note Cash per minute, compare to a no-tool control run.
- Adjust — more warmth, bigger bag, or fewer panic bombs.
Related wiki links
- Guides Hub — all walkthroughs
- Updates Hub — tool balance changes after admin events
- Official Links — Roblox place and PolarMine group
- Tier List — make sure Power keeps up with the bands you radar
Bombs and radars reward preparation. Bring warmth, bag space, Luck, and a plan for the hour — then light up the ice.
Frequently Asked Questions
Quick answers to the most common questions.
When should I use a radar in Mine Antarctica?
Use radars early after an hourly mountain reset or whenever you need a crystal route and already have the warmth to reach marked bands.
When should I use bombs?
Bomb confirmed clusters when your Climb Higher level and Carry More capacity can survive and loot the clearance. Avoid foothill panic bombs.
Should I buy bombs before Climb Higher?
Usually no. Warmth that unlocks better altitudes outperforms spending Cash on tools you cannot safely follow.
Do bombs replace a better pickaxe?
No. Bombs help tempo; Power and Mine Size still determine how efficiently you finish crystal nodes afterward.
Can ESP scripts replace radars?
Some scripts advertise ESP, but PolarMine permanently bans unauthorized software. Use in-game radars instead.